When it comes to real estate marketing, first impressions often come from property photos. These images are usually the first thing potential buyers see, and they play a big role in how people feel about a home before ever stepping inside. But snapping pictures is just one part of the process—editing those photos is what really makes the difference. A well-edited photo can help showcase space, light, and detail more effectively, helping properties stand out in a competitive market.
Why Editing Property Photos Matters
Unedited property photos can look dull, flat, or even misleading. You might have perfect lighting when shooting, but the camera doesn’t always pick up the warmth of natural light or the detail in a room. Editing helps correct color, balance brightness, and fix small distractions. It also creates consistency across a set of photos, which makes listings feel more professional and trustworthy.
The Emotional Connection
People don’t just look at a photo—they imagine themselves in the space. Editing helps enhance that emotional connection by showing rooms at their best. When colors pop and lines are straight, it gives the viewer confidence in the space. A warm-toned living room or a bright kitchen can actually help someone start picturing their future home.
It’s Not About Faking It
Some people worry that editing property photos might feel dishonest. But good editing doesn’t mean changing reality—it just means cleaning up the way it's presented. Think of it as the digital version of fluffing pillows and opening curtains during a home showing.
Getting Started with Photo Editing Tools
You don’t need to be a tech wizard to edit photos. There are tools for every skill level, from beginners to professionals. The key is to choose something that works for your needs and stick with it long enough to learn the basics.
Free Tools for Beginners
If you're just getting started, tools like Canva, Snapseed, and Lightroom Mobile offer a good mix of features without being overwhelming. These apps usually have presets and sliders that let you quickly adjust brightness, contrast, and color without a steep learning curve.
Professional Software Options
For more advanced editing, programs like Adobe Lightroom and Photoshop are industry standards. These tools offer deeper control over shadows, highlights, perspective correction, and much more. Lightroom is especially popular for batch editing—a huge time-saver if you’re working on multiple images from the same shoot.
Editing Basics for Real Estate Photos
Whether you’re using a phone app or full software, there are a few editing steps that almost always improve property photos. These basics can take a photo from average to professional-looking in just a few minutes.
Crop and Straighten
Cropping helps eliminate distractions around the edges of the photo, and straightening ensures that vertical lines (like walls or door frames) don’t look like they’re leaning. This is one of the simplest edits, but it makes a big difference in how balanced the image feels.
Adjust Brightness and Contrast
Homes tend to look best when they feel bright and open. If a photo looks too dark, increasing the brightness and contrast can help. Just be careful not to overdo it—too much contrast can make a room look harsh instead of inviting.
Correct White Balance
Different types of light—like sunlight, overhead bulbs, or lamps—can give your photos a yellow, blue, or green tint. White balance correction adjusts the overall tone so colors appear more natural. A clean white wall should look white, not blue or yellow.
Boosting Color Without Overdoing It
Colors should look rich but realistic. Slightly increasing saturation can make furniture, rugs, and walls look livelier, but going too far can make a room look fake. Try increasing saturation in small steps and keep checking back to make sure the image still feels natural.
Removing Distractions
Most editing tools allow you to clone or heal small parts of an image. This is useful for removing things like wires, smudges on walls, or even reflections in mirrors. Just don’t get carried away—focus on small tweaks that clean up the image without changing the story.
Advanced Edits That Add Value
Once you're comfortable with the basics, there are a few more techniques that can really polish your images. These aren't required, but they can add a layer of professionalism that stands out in a competitive market.
Perspective Correction
Sometimes, wide-angle lenses can distort a room so the lines bow outward or inward. Perspective correction helps fix that. Tools like Lightroom and Photoshop have built-in features that let you straighten out vertical and horizontal lines for a cleaner look.
Sky Replacements for Exterior Shots
If you took an exterior shot on a gray or rainy day, replacing the sky with a clear one can make the photo more appealing. Some editing programs have one-click sky replacement tools, though you should make sure the lighting on the home still matches the new sky.
Window Masking
This technique involves adjusting the exposure inside windows separately from the rest of the room. It helps balance the indoor lighting with the outside view so you don’t get blown-out or too-bright window areas. It’s subtle but makes interiors feel more polished.
Consistency Across All Images
Editing isn’t just about making individual photos look good—it’s also about making the whole set feel cohesive. When people scroll through a listing, they notice if one photo is dark and the next is bright or if one looks warm and the next looks cold.
Create an Editing Routine
Using the same editing steps on every image helps keep your gallery looking consistent. Save presets or write down your steps so you can repeat them easily for each property you shoot.
Match the Style to the Property
Different homes may call for different styles. A modern condo might benefit from cooler tones and crisp lines, while a cozy cottage may look better with warm light and soft shadows. Let the feel of the property guide your editing choices.
Common Mistakes to Avoid
Even with the best tools and intentions, there are some editing pitfalls to watch for. Overediting, mismatched tones, or trying to fix a bad photo with filters can hurt more than help.
Overexposing the Image
Too much brightness can make details disappear. It might look clean at first glance, but buyers want to see the texture in walls, the grain in wooden floors, and the view through windows. Keep details visible.
Using Filters That Don’t Match Reality
Avoid Instagram-style filters or dramatic color effects. These might look artistic, but they can misrepresent the property. Aim for clean and realistic edits that reflect what buyers will actually see during a visit.
Ignoring the Small Stuff
Little things matter. A spot on the floor, a crooked lamp, or a strange color cast can distract viewers. Zoom in and scan each image before finalizing it.
Editing for Different Property Types
The way you edit a city apartment isn’t always the same as how you’d edit a country house. Each property type benefits from its own editing approach based on layout, light, and style.
Apartments and Condos
These usually have smaller spaces and less natural light. Use editing to make rooms feel bigger by brightening shadows and adjusting contrast carefully. Remove clutter digitally if necessary.
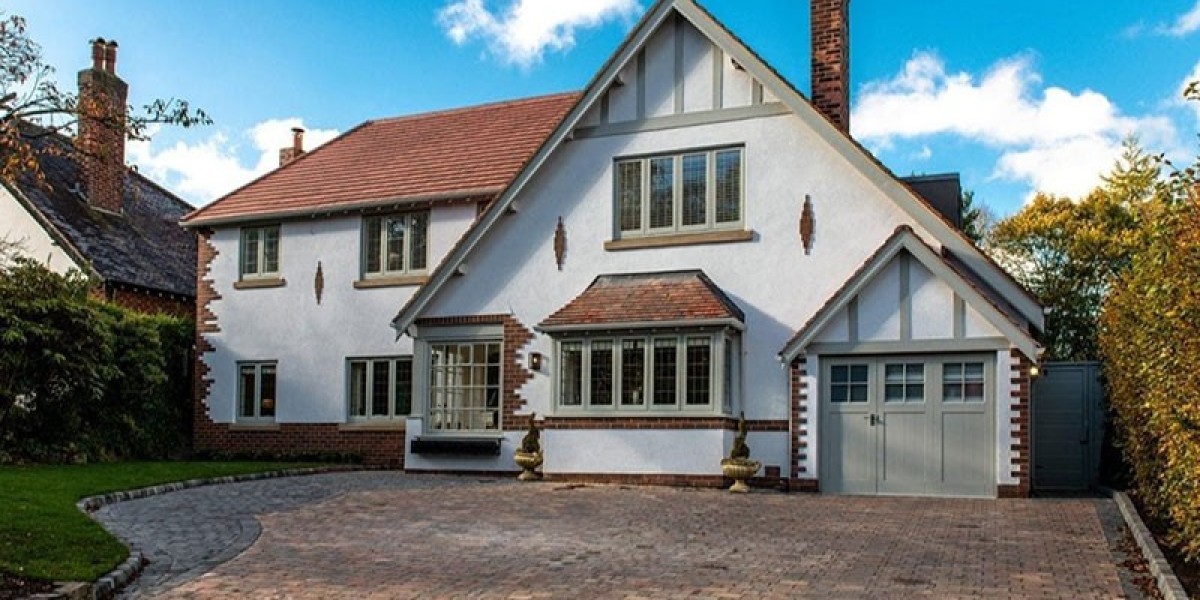
Houses with Yards
For standalone homes, don’t ignore the outside. Clean up garden areas, boost greenery, and balance sky brightness with the shadows on the home’s exterior. Make the whole property look cared for.
Luxury Listings
These often require more time per photo. Focus on sharp detail, window views, and mood. Add small enhancements like soft light glows or reflections in clean surfaces to make the space feel calm and high-end.
FAQs
How much editing is too much for property photos?
If the photo no longer reflects what the home looks like in person, it’s gone too far. Editing should enhance, not deceive. Aim for clarity, color accuracy, and cleanliness.
Do I need a professional to edit my property photos?
Not always. Many agents and photographers handle their own editing using presets and apps. For high-end listings or when time is short, a professional editor can save you time and improve results.
What’s the best software for editing property photos?
Adobe Lightroom is widely used for real estate editing due to its batch processing and non-destructive workflow. For simple edits, mobile tools like Snapseed or Canva also work well.
Can editing fix bad photos?
Editing can improve lighting, color, and composition, but it can’t fix everything. A blurry or poorly composed photo won’t look professional, no matter how much you edit it.
How long should it take to edit a full set of photos?
It depends on the number of images and your skill level. A basic edit of 15–20 images might take 30 minutes to an hour. More detailed edits could take longer.
Conclusion
Editing property photos is more than just a finishing touch—it’s a key part of presenting a home in the best possible way. From brightening dark corners to correcting colors and straightening lines, every edit adds clarity and appeal. Whether you’re an agent, photographer, or homeowner, learning a few simple techniques can help your photos tell the right story. With consistent effort and attention to detail, edited images can bring listings to life and connect with buyers in a more powerful way. And in a world where people scroll fast and decide even faster, that kind of polish really matters.