
Transform Your Nails: Master the Art of At-Home Acrylic Press-On Application!
Acrylic press-on nails have taken the beauty world by storm, becoming a go-to choice for those seeking stylish, salon-quality manicures without the hefty price tag. These convenient alternatives allow you to achieve a polished look right in the comfort of your home. Whether you’re preparing for a special occasion or just want to indulge in some self-care, applying acrylic press-on nails at home can be both cost-effective and time-saving. In this article, we’ll guide you through the entire process, from understanding what acrylic press-on nails are to the step-by-step application and aftercare. By the end, you’ll be well-equipped to master this fun beauty trend!
Understanding Acrylic Press-On Nails
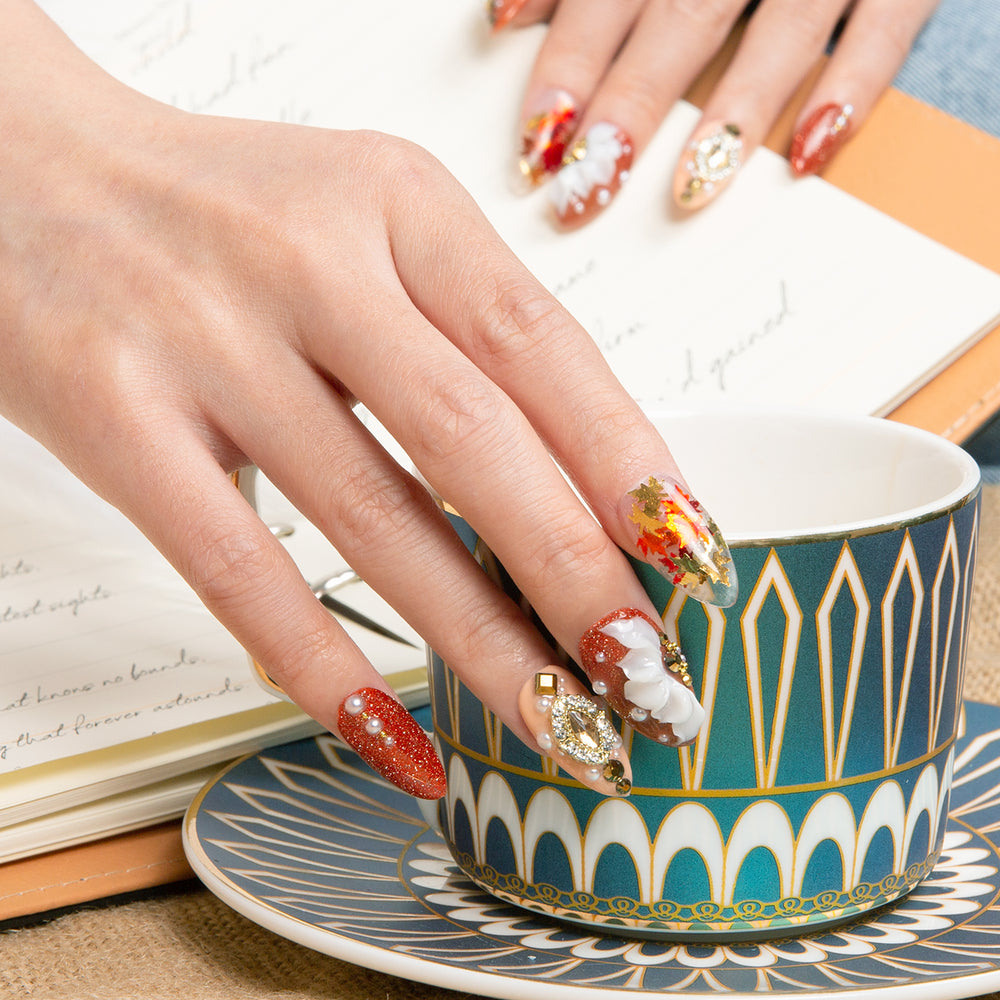
Acrylic press-on nails are pre-designed nail tips that provide the glamour of acrylics without the need for professional application. Unlike traditional acrylic nails that are sculpted directly onto your natural nails using a mixture of liquid and powder, press-on nails are typically made from a durable acrylic material that is pre-shaped and often pre-decorated. This allows for a variety of designs, colors, and lengths, giving you the flexibility to choose what best suits your style. The primary advantage of press-on nails is their ease of use and the ability to change your look quickly, making them perfect for anyone who loves to experiment with their nail art without the commitment of regular salon visits.
Preparing for Application
Before diving into the application process, it’s essential to gather the right tools and materials. You’ll need acrylic press-on nails, nail glue, a nail file, a buffer, cuticle oil, and a pair of scissors or a nail clipper. Start by preparing your natural nails: remove any old nail polish, then trim and file your nails to your desired length. Buff the surface of your nails lightly to create a rough texture, which helps the glue adhere better. Don’t forget to push back your cuticles gently to ensure a clean application area. This preparation is crucial for achieving a long-lasting and natural look with your press-on nails.
Step-by-Step Application Process
Now that you’re prepared, let’s get into the step-by-step process of applying acrylic press-on nails:
- Choose the Right Size: Select press-on nails that fit your natural nail beds perfectly. You can gently file them down if they are slightly too big.
- Apply Nail Glue: Apply a small amount of nail glue to your natural nail and the press-on nail. Be careful not to use too much glue, as this can cause overflow.
- Press and Hold: Align the press-on nail with your natural nail and press down firmly for about 10-15 seconds. This ensures a strong bond.
- Repeat: Continue this process for each nail, ensuring you maintain the same technique for consistency.
- File and Shape: Once all the nails are applied, file them to your desired shape and length, if necessary.
- Finish with Polish: For an added touch of glam, consider applying nail polish or a top coat for extra shine.
As you apply the nails, make sure to check for a secure fit. If a nail feels loose, you may need to reapply the glue or choose a different size. Remember, practice makes perfect! A friend of mine, who recently tried this method, found that taking her time and following each step carefully led to a stunning result she was proud of.
Common Mistakes to Avoid
While applying acrylic press-on nails can be straightforward, there are common pitfalls to watch out for:
- Skipping Preparation: Failing to prep your nails properly can lead to chipping and lifting.
- Overusing Glue: Too much glue can cause messy application and even damage your natural nails.
- Neglecting Size Matching: Using nails that are too large or small can result in an unnatural look.
- Rushing the Process: Take your time during application; rushing can lead to mistakes.
By being mindful of these common mistakes, you can enhance your nail application experience and enjoy beautiful results.
Aftercare and Maintenance
After applying your acrylic press-on nails, it’s important to care for them properly to ensure they last as long as possible. Avoid exposing your nails to excessive water or harsh chemicals, as this can weaken the adhesive. When it’s time to remove the press-on nails, do so gently by soaking them in warm, soapy water for about 10-15 minutes. This helps to loosen the glue. Once softened, carefully lift the nails off without pulling on them. After removal, treat your natural nails with cuticle oil to nourish and hydrate them. Regular maintenance will keep your nails looking fabulous and your natural nails healthy.
Final Thoughts on Acrylic Press-On Nails at Home
In summary, applying acrylic press-on nails at home can be an enjoyable and rewarding experience. With the right tools and techniques, you can achieve a professional-looking manicure without the expense of a salon visit. Remember to take your time during the preparation and application process, and don’t hesitate to experiment with different styles and colors. Nail art is a fantastic way to express your creativity and enhance your personal style. So go ahead, give it a try, and transform your nails into a stunning masterpiece!


