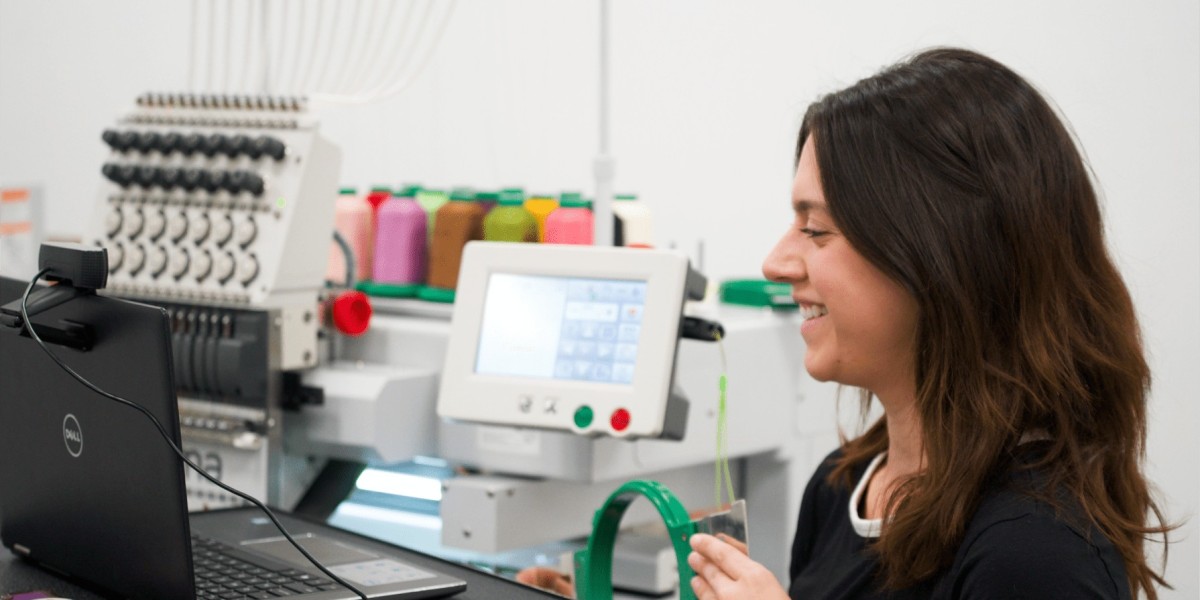
Embroidery has always been a beautiful way to add personality to fabrics, but in today's world, generic designs just don't cut it anymore. Whether you're a business looking to brand uniforms, a hobbyist creating custom gifts, or a fashion designer adding unique touches to garments, custom embroidery digitizing is what sets your work apart. This guide will walk you through everything you need to know about custom embroidery digitizing services — why it matters, how it works, and where to get the best results for your specific needs.
What Is Custom Embroidery Digitizing?
Embroidery digitizing is the process of converting artwork into a stitch file that an embroidery machine can read. But custom digitizing takes it a step further—it’s not just about converting an image; it’s about optimizing the design for your exact requirements.
Why Does Personalization Matter?
- Fabric Compatibility: A design that works on denim may not stitch well on fleece.
- Thread Choices: Custom color matching ensures your logo looks perfect.
- Size Adjustments: A small logo vs. a large back design require different stitch settings.
- Special Effects: 3D puff, metallic threads, or gradient shading need expert handling.
Without proper digitizing, even the best artwork can turn into a messy, uneven embroidery job.
How Custom Digitizing Works
Step 1: Submit Your Design
Start with a high-quality image (PNG, JPG, SVG, or even a sketch). The clearer the artwork, the better the digitized result.
Step 2: Specify Your Needs
Tell your digitizer:
- Fabric type (cotton, polyester, leather, etc.)
- Desired size (small patch or large back design?)
- Stitch preferences (satin stitches for smooth text, fill stitches for solid areas)
- Special requests (3D effects, gradient colors, etc.)
Step 3: Professional Digitizing
A skilled digitizer manually maps out:
- Stitch types and directions
- Underlay stitches for stability
- Thread color changes
- Density adjustments to prevent fabric puckering
Step 4: Test & Refine
A good digitizer will provide a test stitch file so you can check the design on your fabric before finalizing. Revisions ensure perfection.
Who Needs Custom Embroidery Digitizing?
Small Businesses & Brands
- Company logos on uniforms, hats, or bags
- Merchandise branding for promotional products
- Custom patches for employee recognition
Fashion Designers & Boutiques
- High-end garment detailing (unique cuffs, collars, or embellishments)
- Limited-edition embroidery for exclusive collections
Crafters & Hobbyists
- Custom gifts (baby blankets, monogrammed towels, wedding favors)
- DIY projects (embroidered art, quilt blocks, home décor)
Schools & Sports Teams
- Team logos on jerseys and jackets
- Event patches for tournaments or fundraisers
Choosing the Right Digitizing Service
Not all digitizing is created equal. Here’s what to look for:
Experience & Expertise
- Look for digitizers with 5+ years of experience—they’ll know how to handle tricky designs.
- Check portfolios for clean, well-structured stitch files.
Turnaround Time
- Standard services take 24–48 hours, but rush options should be available.
Revisions & Support
- The best services offer free tweaks if the first test stitch isn’t perfect.
Affordable Pricing
- Prices vary by complexity, but expect 10–10–50 per design for professional work.
DIY vs. Professional Digitizing: Which Should You Choose?
DIY Digitizing (Software Options)
✔ Pros:
- Lower cost (free or one-time software purchase)
- Instant control over edits
- Good for simple designs
❌ Cons:
- Steep learning curve
- Risk of poor stitch quality
- Time-consuming for complex art
Best for: Hobbyists with basic needs.
Professional Digitizing (Like Digitizing Buddy)
✔ Pros:
- Flawless, optimized files
- Saves time and thread
- Handles complex designs easily
❌ Cons:
- Higher cost per design
Best for: Businesses, designers, and anyone needing polished results.
Common Digitizing Mistakes to Avoid
1. Using Low-Quality Artwork
Blurry or pixelated images lead to jagged, messy stitches. Always provide vector files (SVG, AI) when possible.
2. Ignoring Fabric Differences
A design digitized for thick denim will pucker on thin polyester. Specify your material upfront.
3. Overcomplicating Small Details
Tiny text or intricate elements may turn into a tangled mess. Simplify or enlarge as needed.
4. Skipping the Test Stitch
Even pros make adjustments after seeing the physical result. Never skip this step!
The Future of Custom Embroidery Digitizing
As embroidery tech evolves, we’re seeing:
- AI-assisted digitizing for faster turnarounds
- More 3D and textured effects (like foam-backed embroidery)
- Eco-friendly thread options for sustainable fashion
Final Thoughts: Why Custom Digitizing Wins
Generic auto-digitized files might save a few dollars, but they often cost more in wasted thread, time, and frustration. Custom digitizing ensures:
- Your design stitches perfectly every time
- Your fabric won’t pucker or warp
- Your colors pop exactly as intended
Whether you hire a pro or learn to DIY, taking the time to digitize correctly makes all the difference in your embroidery projects.
Need a perfectly digitized design? Try a trusted service like Digitizing Buddy—they specialize in custom, high-quality files tailored to your exact needs.


