Unlock the Secrets of Studio Photography Lights: Transform Your Shots Like a Pro!
Lighting is arguably one of the most crucial elements in photography, capable of transforming an ordinary image into a stunning masterpiece. The right lighting can enhance textures, bring out colors, and set the mood for your shots. Studio photography lights offer a plethora of options that can dramatically improve the quality of your images, allowing photographers to have precise control over their lighting conditions. Whether you’re a seasoned professional or a budding enthusiast, understanding the various types of studio photography lights available is essential for capturing professional-grade photographs. From soft, diffused light to powerful flashes, each type of lighting serves a unique purpose and can elevate your photography game to new heights.

Types of Studio Photography Lights
When diving into the world of studio photography lights, it's important to familiarize yourself with the main types available: continuous lights, flash units, and LED lights. Each of these types has distinct characteristics and benefits, catering to different photography styles and scenarios. Continuous lights provide a constant source of illumination, making them ideal for video and portrait shoots. Flash units, on the other hand, deliver a burst of light, perfect for freezing action and creating dramatic effects. Lastly, LED lights are gaining popularity due to their versatility, energy efficiency, and adjustable features. Understanding when and why to use each type can significantly enhance your photography skills and outcomes.
Continuous Lights
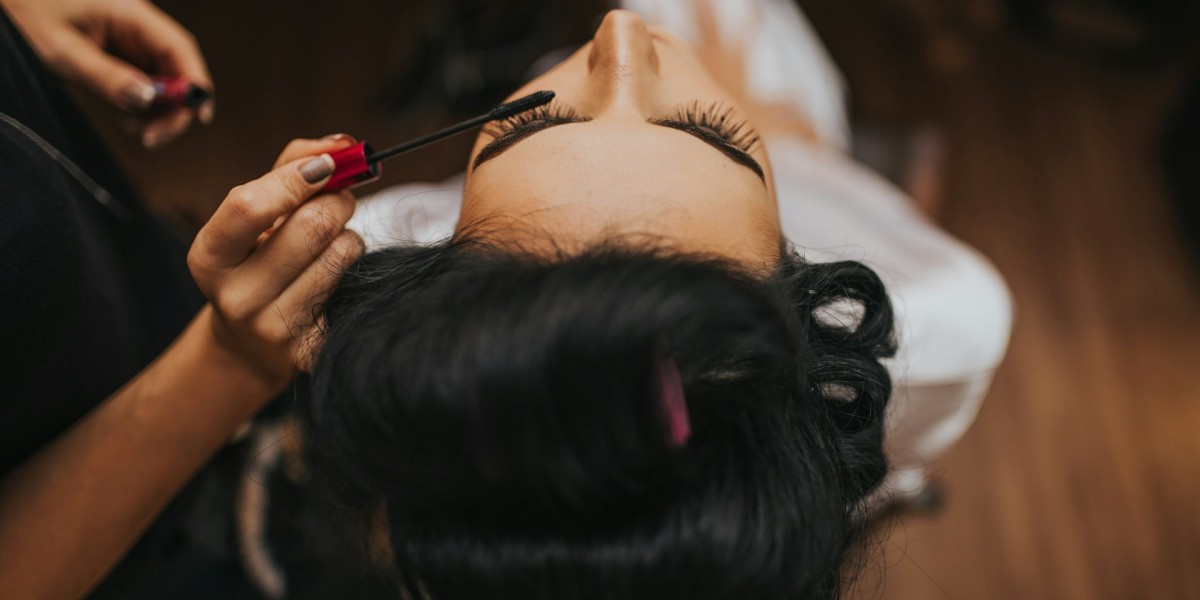
Continuous lights operate by providing a steady source of light, allowing photographers to see exactly how the light will affect their subject before taking a shot. This feature is particularly beneficial for those engaged in video production or portrait photography, where maintaining a consistent light source is key to achieving the desired look. Continuous lights come in various forms, such as softboxes and ring lights, each offering unique benefits. They're especially useful for beginners, as they simplify the process of adjusting lighting setups and allow for immediate visual feedback. A friend of mine, who often shoots makeup tutorials, swears by continuous lights for their reliability and ease of use, stating that they make her workflow smoother and more efficient.
Flash Units
Flash units work by emitting a powerful burst of light that lasts only a fraction of a second. This flash can freeze motion and illuminate subjects in low-light conditions, making it an excellent choice for events or fast-paced scenarios. The power output of flash units can vary, giving photographers the flexibility to adjust the intensity of light based on their needs. When using flash, it's crucial to sync the flash with your camera’s shutter speed to ensure that the light captures the moment perfectly. I remember attending a wedding where the photographer adeptly used flash units to capture stunning images of the couple dancing, creating a magical atmosphere that was both vibrant and beautifully lit.
LED Lights
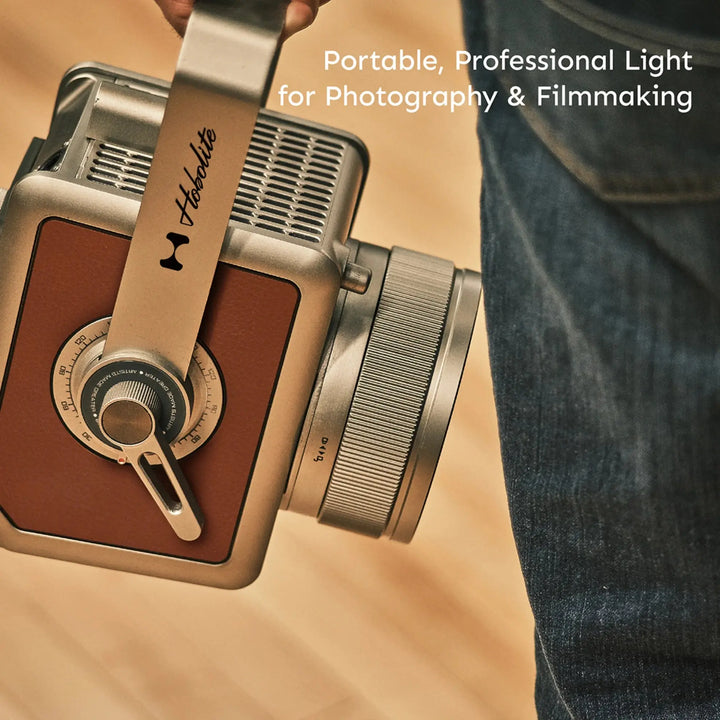
LED lights are becoming a popular choice among photographers due to their energy efficiency and versatility. They offer adjustable brightness and color temperature options, allowing for greater control over the lighting environment. This flexibility is particularly advantageous for photographers who work in varied shooting conditions or genres. Additionally, LED lights generate less heat compared to traditional lights, making them more comfortable for both the subject and photographer during long shoots. A fellow photographer I know often uses LED lights for outdoor portraits, as they can easily adapt to changing daylight conditions while maintaining consistent color quality. Their lightweight and portable nature also make them ideal for on-location shoots.
Features to Consider When Choosing Studio Lights
When selecting studio photography lights, several key features should be considered to enhance your shooting experience. Brightness is typically measured in lumens, and it’s vital to choose lights that provide adequate illumination for your specific needs. Color temperature is another critical factor; it affects how warm or cool your images appear. Look for lights that offer adjustable color temperatures to match various shooting conditions. Portability is also essential, particularly for photographers who travel frequently or work on location. Lastly, ease of use is paramount; a user-friendly setup can save you time and frustration in the heat of a shoot. By evaluating these features, you can select lights that best suit your photographic style and workflow.
Best Practices for Using Studio Photography Lights
Utilizing studio lights effectively requires an understanding of best practices for setup and positioning. When setting up your lights, consider the angle of illumination to avoid harsh shadows that can detract from your subject. Experiment with different positions and angles to discover the most flattering light for your shots. Incorporating reflectors and diffusers can further enhance your lighting effects by softening harsh light or redirecting it for a more balanced look. A personal experience comes to mind: during a recent portrait session, I used a combination of a softbox and a reflector to create a soft, even light that beautifully highlighted my subject’s features. The key takeaway here is to never hesitate to experiment; the more you play with your lighting setups, the more you will learn about what works best for you.
Mastering Studio Photography Lighting Techniques
In summary, mastering studio photography lights is essential for anyone looking to elevate their photography skills. Understanding the different types of lights available—continuous lights, flash units, and LED lights—along with their unique features, can significantly improve the quality of your images. By considering important features and implementing best practices in your lighting setups, you can create stunning photographs that capture the essence of your subjects. Remember, the journey of improving your photography is all about experimentation and practice. So grab your lights, set up your studio, and start transforming your shots like a pro!


