Unlock the Secrets of Studio Lighting: Transform Your Photography Game!
Studio lighting is an essential component of photography that can dramatically enhance the quality and creativity of your images. Whether you're capturing portraits, products, or artistic shots, understanding how studio lighting works is crucial for achieving professional results. This article delves into the different types of studio lighting equipment available, including their unique features, techniques for optimal setup, and creative applications. By mastering studio lighting, photographers can not only improve their technical skills but also unlock new possibilities for storytelling through their images. Join us as we explore the fundamentals of studio lighting and empower your photography journey!
Understanding Studio Lighting
Before diving into the types of studio lighting equipment, it's important to grasp the fundamental concepts and terminology associated with studio lighting. At its core, studio lighting refers to the controlled use of artificial light sources to create desired effects in photography. Key terms include "soft light," which is diffused and gentle on the subject, and "hard light," which creates sharp shadows and highlights. Understanding concepts like color temperature and the exposure triangle—aperture, shutter speed, and ISO—will also help you make informed decisions when setting up your lighting. A common mistake I've seen among beginner photographers is underestimating the importance of lighting. A friend once shared how a single poorly lit photo turned into a learning moment that led them to experiment with various lighting setups, ultimately transforming their photography skills.
Types of Studio Lighting Equipment
When it comes to studio lighting, there are several types of equipment, each serving different purposes. The two primary categories are continuous lights and strobe lights. Continuous lights provide a constant light source, allowing photographers to see how the light interacts with the subject in real time. These are great for beginners and videographers. On the other hand, strobe lights emit a brief, powerful burst of light, which helps freeze motion and illuminate subjects that move quickly. Additionally, modifiers and accessories, such as softboxes, reflectors, and diffusers, play a crucial role in shaping and controlling light, allowing for greater creative expression. Each type of lighting equipment has its advantages and can be tailored to suit specific photography styles and environments.
Continuous Lighting
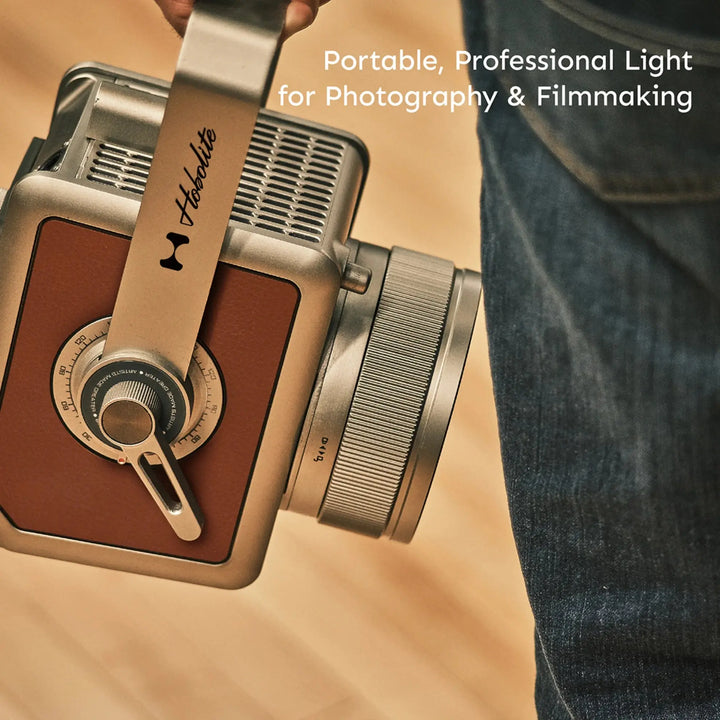
Continuous lighting is often the go-to choice for many photographers, especially those just starting out. These lights are easy to use and provide a steady light source that helps you visualize the effect before clicking the shutter. They come in various forms, such as LED panels and fluorescent bulbs. One significant benefit of continuous lights is their versatility; they can be used for both photography and videography. A friend of mine once shared how using continuous lights during a product shoot allowed them to adjust the lighting on the fly, leading to stunning results. This adaptability can be crucial when working with dynamic subjects or changing environments.
Strobe Lighting
Strobe lighting offers unique advantages that make it a favorite among professional photographers. The brief, intense bursts of light produced by strobes can freeze motion effectively, making them ideal for capturing fast-paced action or intricate details. Strobes can also generate a higher output of light compared to continuous lights, making them suitable for larger studio spaces or outdoor shoots in bright conditions. When I first experimented with strobe lighting, I was amazed at how the quality of my portraits improved. By learning to balance the strobe's output with ambient light, I could create vibrant, dynamic images with impressive depth and contrast.
Modifiers and Accessories
Modifiers and accessories are essential tools that enhance the capabilities of your lighting equipment. Softboxes, umbrellas, and reflectors are commonly used to diffuse light and soften shadows, creating a more flattering look on subjects. Diffusers help to spread light evenly, reducing harshness and providing a more natural appearance. Additionally, grids and barn doors can be utilized to control and direct light precisely where it’s needed, allowing for more creative lighting effects. An experience shared by a fellow photographer emphasized the impact of using a simple diffuser—how it turned an average photo into a stunning portrait by softening the harsh shadows and creating a gentle glow. Understanding how to use these modifiers effectively can elevate your photography significantly.
Lighting Techniques and Setups
Mastering studio lighting techniques is just as important as having the right equipment. Popular setups, such as the three-point lighting system, high key, and low key lighting, create distinct moods and enhance the storytelling aspect of photography. The three-point lighting setup consists of a key light, fill light, and backlight, providing a well-rounded illumination that is flattering for most subjects. High key lighting is characterized by bright, even lighting with minimal shadows, often used in fashion and product photography. Conversely, low key lighting relies on dramatic shadows and highlights, creating a moody and intense atmosphere perfect for portraits or artistic projects. Understanding and experimenting with these techniques can help you find your unique style and improve the overall quality of your work.
Three-Point Lighting
The three-point lighting technique is a foundational lighting setup that every photographer should master. It involves three lights: the key light is the primary source, illuminating the subject; the fill light softens shadows created by the key light; and the backlight adds dimension by separating the subject from the background. This setup creates depth and interest in your images. When I first implemented three-point lighting in a portrait session, I noticed how it added a professional touch to my photos, allowing the subject to stand out beautifully against the backdrop.
High Key vs. Low Key Lighting
High key and low key lighting setups serve different purposes and evoke distinct emotions in photography. High key lighting creates a bright, cheerful atmosphere with minimal contrast, ideal for fashion shoots, advertising, and cheerful portraits. This technique is characterized by soft shadows and an overall light feeling. In contrast, low key lighting emphasizes shadows and contrast, resulting in a dramatic and moody effect, often used in fine art and portrait photography. Choosing between these setups often depends on the desired mood and message of the photograph, and experimenting with both can lead to exciting discoveries in your artistic expression.
Final Thoughts on Studio Lighting Mastery
In summary, mastering studio lighting is a crucial step in elevating your photography skills and creating stunning images. By understanding the various types of studio lighting equipment, such as continuous and strobe lights, and learning how to implement effective lighting techniques and setups, you can transform your approach to photography. Don't shy away from experimenting with different lighting styles and modifiers; each session is an opportunity to learn and grow. So grab your camera, set up your lights, and start capturing the world in a whole new light!
