
Unlock the Secrets to Perfectly Printing with TPU: Your Ultimate Guide to 3D Printing Mastery!
When it comes to 3D printing, choosing the right filament can make all the difference in the quality and durability of your prints. One filament that has gained significant traction among 3D printing enthusiasts is TPU (Thermoplastic Polyurethane). This flexible, durable material is perfect for creating a wide range of objects, from phone cases to custom gaskets. However, printing with TPU can be challenging without the right setup. This article aims to guide you through the essential steps to set up your 3D printer for TPU filament effectively, ensuring you unlock its full potential and achieve stunning results.
Understanding TPU and Its Benefits
TPU is a type of thermoplastic elastomer known for its exceptional flexibility and durability. Unlike rigid filaments, TPU can stretch and compress without losing its shape, making it an ideal choice for applications requiring resilience and impact resistance. This filament is not only versatile but also offers a variety of shore hardness levels, enabling users to select the right type for their projects. Common applications of TPU prints range from functional prototypes and automotive parts to wearables and toys. A friend of mine, who designs custom footwear, swears by TPU for its ability to create comfortable yet sturdy shoe soles. With its unique properties, TPU has truly become a favorite among makers and engineers alike.
Preparing Your 3D Printer for TPU Filament
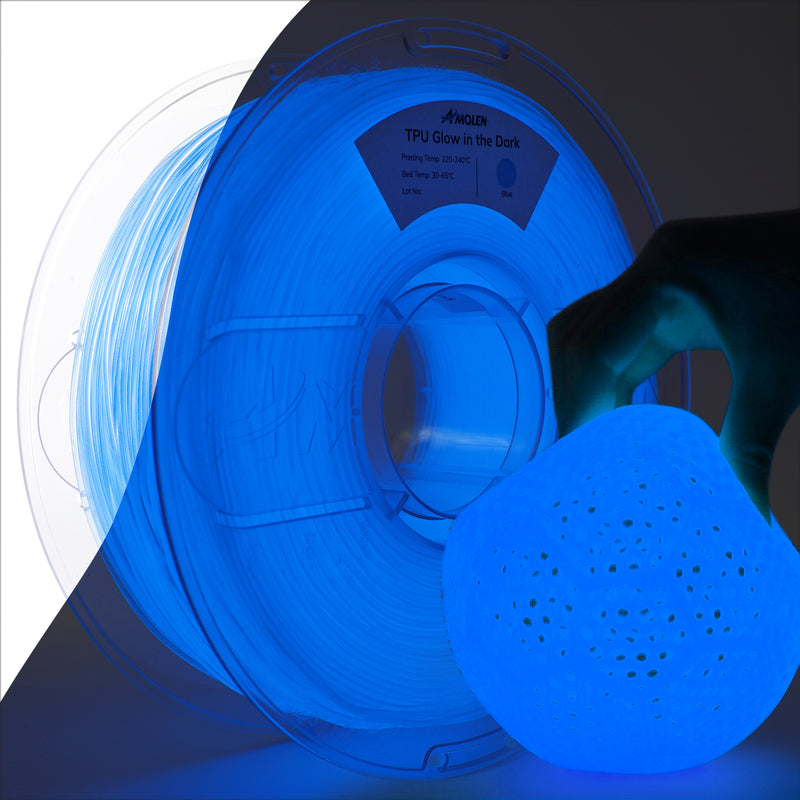
To achieve optimal results when printing with TPU, your 3D printer may require some adjustments. Start by checking the nozzle temperature; TPU typically prints best at temperatures between 210°C and 250°C, depending on the specific formulation of the filament. Make sure to also adjust your print bed temperature to around 60°C to help with adhesion. Additionally, consider modifying your extruder settings. A direct drive extruder is highly recommended for TPU, as it provides better control over the filament flow. If you are using a Bowden extruder, you might need to reduce the retraction distance to prevent the filament from jamming or buckling during the printing process. These adjustments are crucial for achieving smooth, successful prints.
Bed Adhesion Techniques
Bed adhesion is a key factor when printing with TPU, as its flexible nature can lead to warping or detachment during the print process. To enhance adhesion, you can use a variety of techniques. Many users find success with a heated bed, as it helps keep the first layers warm and reduces the chances of warping. Another effective method is applying adhesives such as glue sticks or hairspray to the print bed. Some people prefer using specialized surfaces like PEI sheets or glass, which can provide a good grip for TPU prints. I once helped a friend set up his printer for TPU, and we found that using a light coat of glue stick made a remarkable difference in print adhesion.
Tuning Print Settings for TPU
Fine-tuning your slicer settings is vital for successful TPU prints. Start by reducing the print speed; slower speeds between 20 to 30 mm/s are often recommended to allow the filament to flow smoothly through the nozzle. Adjusting the layer height is also essential; a height of 0.1 to 0.3 mm usually works best for TPU. Additionally, be cautious with retraction settings. Long retraction distances can lead to clogs, so aim for a distance of 1-2 mm and reduce the retraction speed. Making these adjustments can help you avoid common issues like stringing and poor layer adhesion, resulting in high-quality prints that showcase the unique properties of TPU.
Common Issues and Troubleshooting
Even with the right setup, issues may arise when printing with TPU. One of the most common problems is stringing, which occurs when the nozzle oozes filament during travel moves. To combat this, ensure your retraction settings are correctly adjusted and consider lowering the print temperature slightly. Another frequent issue is under-extrusion, resulting in weak or incomplete layers. This can often be fixed by recalibrating your extruder settings or increasing the print temperature. If you experience warping, double-check your bed adhesion methods. By being aware of these common problems and having practical solutions at hand, you can enhance your success rate with TPU printing.
Mastering TPU Filament for Exceptional Prints
Successfully printing with TPU filament requires careful preparation and attention to detail. From understanding the material's unique properties to fine-tuning your printer settings, each step plays a critical role in achieving optimal results. Remember to experiment with different settings and techniques to find what works best for your specific printer and filament. With practice and persistence, you'll be able to create stunning, functional prints that showcase the versatility of TPU. So, roll up your sleeves, dive into your 3D printing adventures, and enjoy the satisfaction of mastering this incredible material!


